pics finally
OK I'm finally getting around to posting pics...
 Here you can see the original damage done to the wall behind the shower faucet pipes. That's the back of my wall tiles you're looking at there. NO too cool, huh?
 Here you can see the original vanity,sink, mirror, and medecine cabinet in the corner. Stylish isn't it?
 This is my original tub and faucet handle combination. Note the gap between the bottom of the tile and the top of the tub.
 Here's the corner where the vanity was. Note the holes in the drywall. Luckily, the new vanity cabinet totally covers that, so I lucked out of a pretty large drywall patch job.
 And here's what the shower/tub area looked like once we removed everything. See how the drywall was only help up by those narror 1/2 furring strips? That's what caused us some trouble putting the new backer board up on the wall. The screws we used had to pierce the concrete blocks a little bit to sink enought below the surface of the drywall. It would have been much better if we'd had 2/4 studs to screw into.
 I included this pic so you can kind of tell what's involved with replacing your faucet handles. Those pipes had to be cut, and new connections to a new manifold had to be soldered in place. It's easy to do, if you know how to use a plumber's blow torch.
OK On to the After Pics!!!
 Here's our new faucet handles, tub, and tile work. I really like the faucet handles.
 The cabinet over the toilet was easier to put in than I expected. I used a stud finder to locate the wall studs and drilled 3 screws through the back of the cabinet into them. And I also had 3 drywall anchors on the other side of the cabinet. It's prety sturdy. While I didn't hang my full weight on it, it's not going to fall with anything we could put in there. Which is good since you'd hate to have that fall while you're on the toilet...
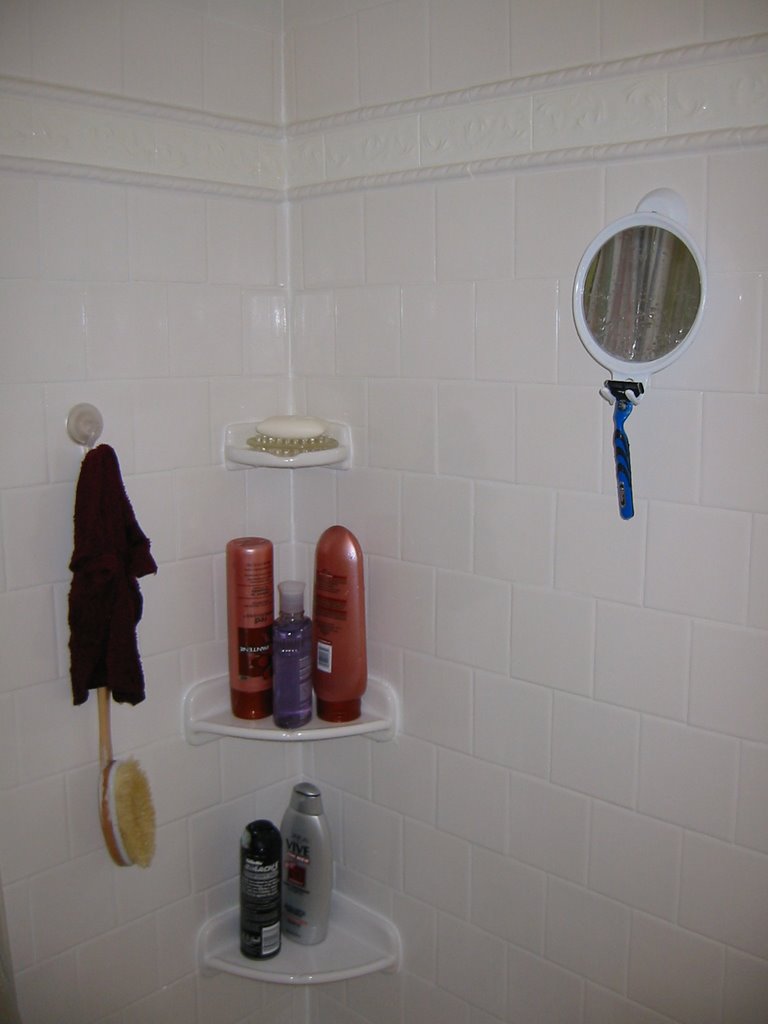 Those corner shelves are the ones I talked about being problematic to install since my corners aren't perfect 90 degree angles. And you can also see the decorative border tiles Heidi picked out at the top of the wall. That's 3 spearate tiles, not one big one. We used a narrow rope motif tile on top of, and below a wider scroll motif tile. Not easy to grout that, let me tell you. But the end results look pretty good I think.
 We had the shower head previously, but put a new wall pipe in. It's all shiny. :-) You can see the decorative tile border a little better in this picture too.
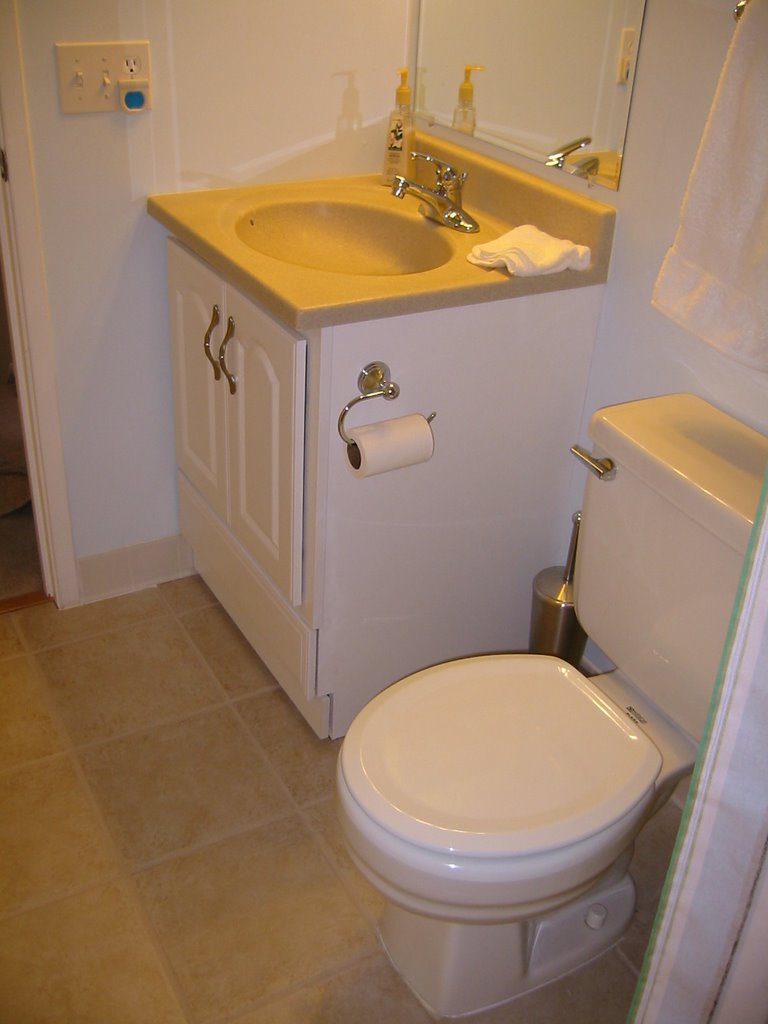 And finally, here is 2 shots of the new vanity/sink/mirror/light fixture, and you can see the floor tiles. Sorry I couldn't get that all into one shot. My bathroom isn't big enough for me to back up that far.
Well, that's my bathroom project. Next will either be the downstairs half bath, or the baby's room. I'd like to do the downstairs bath first I think since that won't take too long and I know if I wait until after the baby's here, I'll never do it.
posted by Schuyler @ 6:29 AM
![]()

0 Comments:
Post a Comment
Subscribe to Post Comments [Atom]
<< Home